Taizhou Sunshine Garden Products Co., Ltd.
 +86-576-83682219
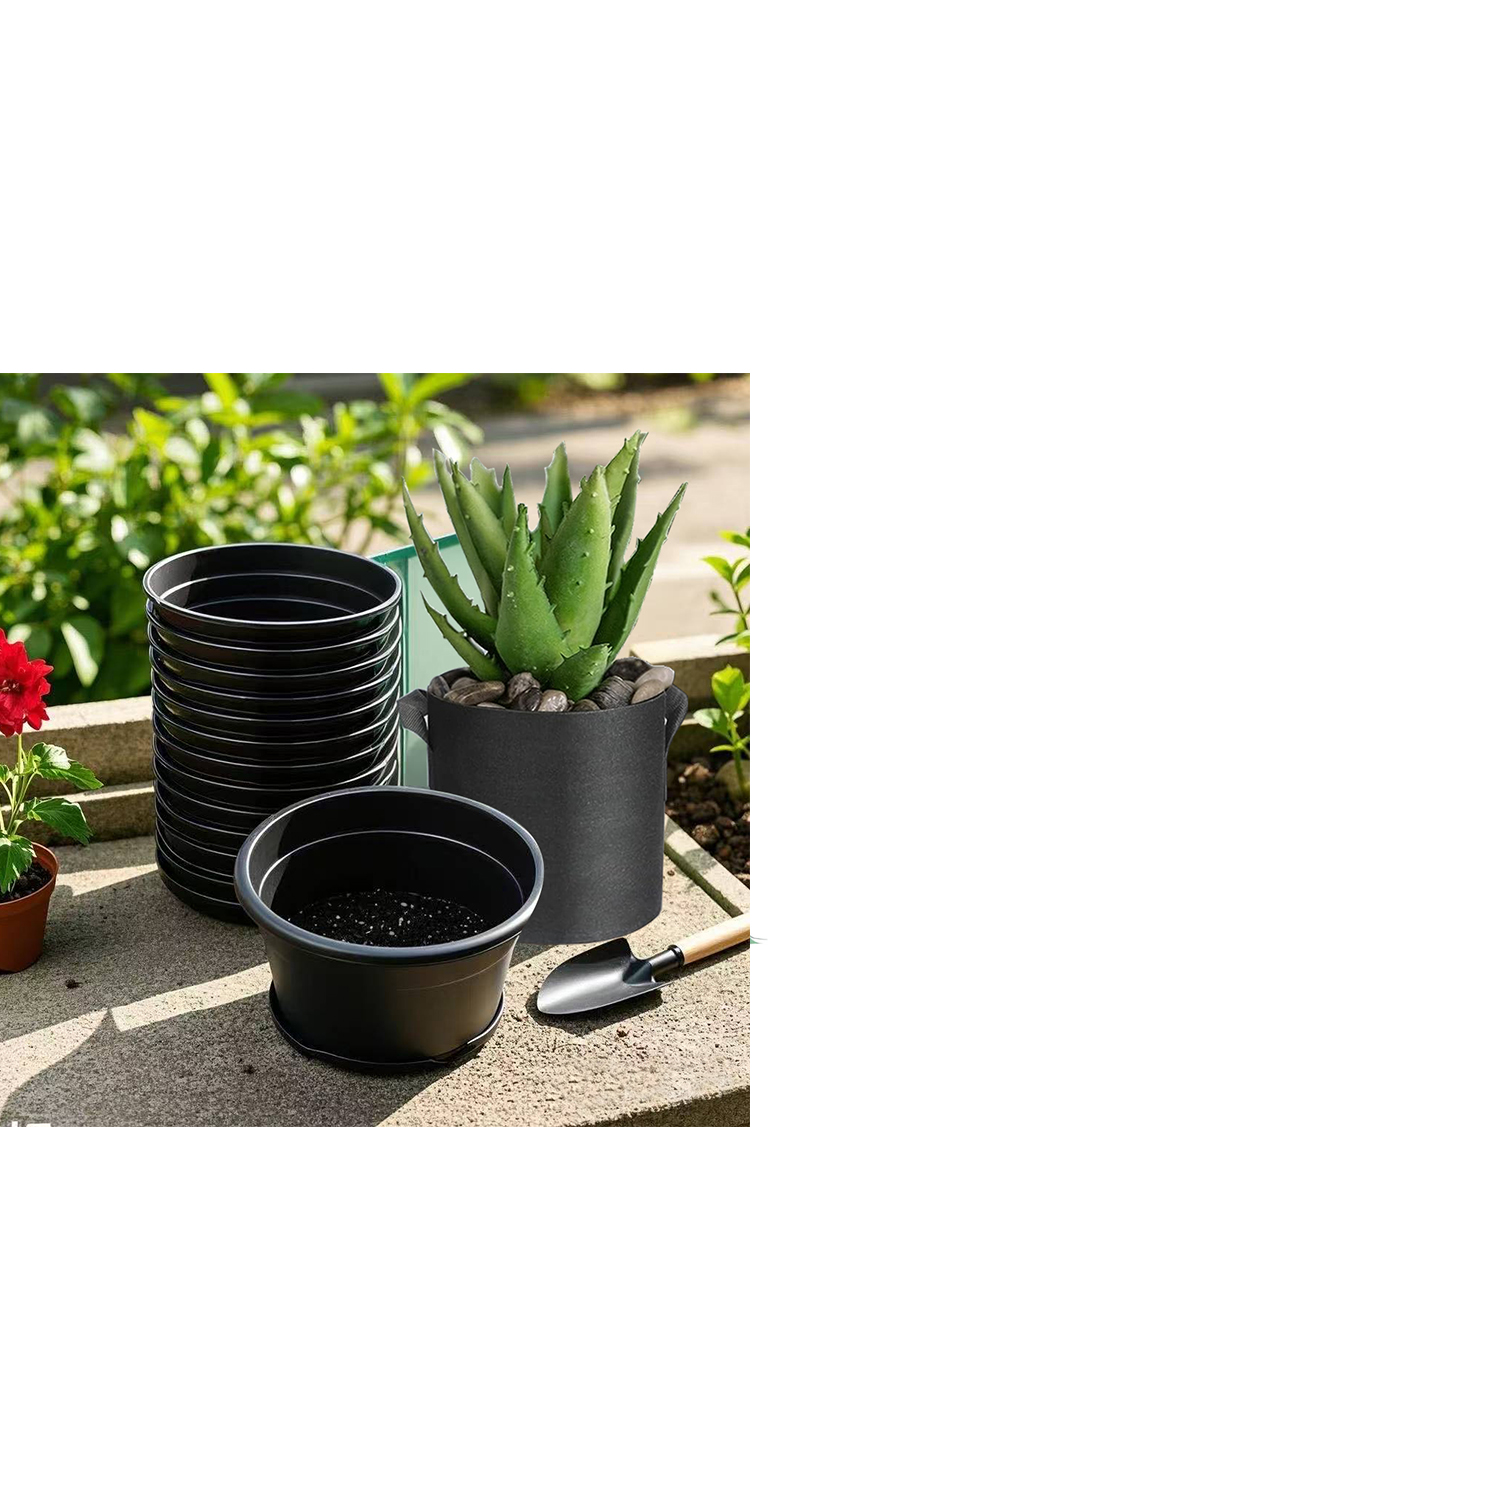
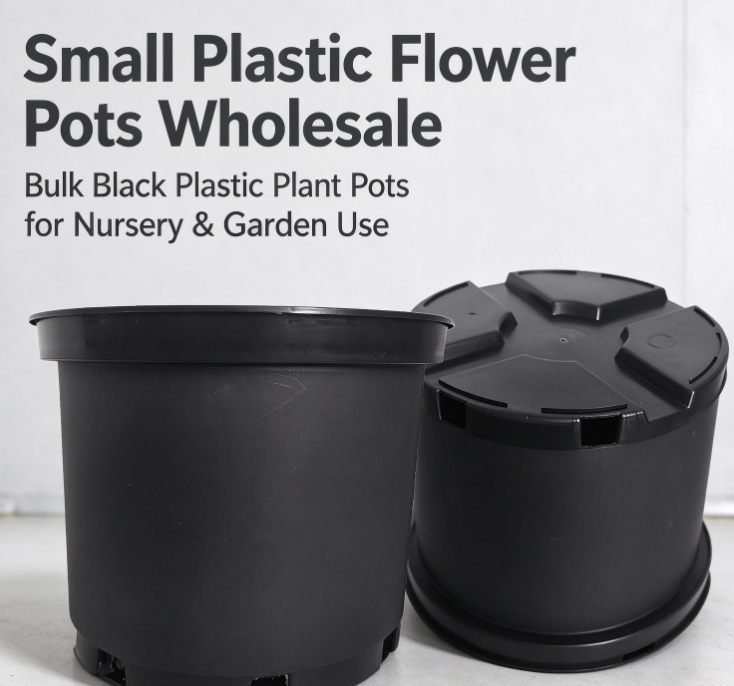 Small plastic flower pots quietly carry a lot of weight in modern plant production. They're everywhere — greenhouses, commercial nurseries, garden centers, propagation facilities — doing the unglamorous work of growing seedlings, rooting cuttings, raising young plants, and getting stock ready for sale. Their compact size also helps growers keep plants organized by species, growth stage, and care needs without things turning into chaos.
Inside a greenhouse, space and growing conditions need careful management. Different plants want different amounts of water, light, room for their roots to spread. Small plastic flower pots let growers handle individual plants on their own terms, rather than tossing every seedling into one shared growing bed where nothing gets individual attention. That makes routine care and moving plants around a lot more manageable day to day.
Plant nurseries lean on these pots for similar reasons. Young plants typically start life in small containers before graduating to larger pots or heading into the ground. A suitable container supports those early growth stages while letting nursery staff keep an eye on each plant's progress.
Small plastic flower pots might look like the simplest piece of equipment in the whole operation, but their design actually shapes daily nursery work more than people realize. Pot shape, drainage, material, handling features — all of it determines how well a pot fits into a working growing system. Understanding these roles helps growers, nursery operators, and Small Plastic Flower Pots Wholesale buyers pick containers that genuinely match what their production actually needs.
Why Are Small Plastic Flower Pots Common in Greenhouses?
Greenhouses offer a controlled environment, sure, but managing a sea of individual plants inside one still takes real planning. Small plastic flower pots help growers arrange seedlings and young plants in a way that stays clear and organized rather than becoming a tangled mess.
Each pot carves out a separate growing space. That matters a lot when different plant varieties need different care routines running side by side. A grower can shift a pot to another bench, adjust where it's sitting, or pull it for a closer look without disturbing anything nearby. Individual containers also make identifying plants and tracking their progress a lot more straightforward.
Small pots earn their keep especially during early growth stages. Seeds and young seedlings usually have fairly limited root systems at that point. A large container just ends up holding more growing medium than the plant actually needs yet. A smaller pot gives a manageable space while letting the grower keep tabs on moisture and root development closely.
Greenhouse staff also benefit from how easy plastic containers are to handle generally. Most small plastic pots are lightweight and line up neatly in rows or sit in trays without fuss. That makes efficient use of benches and growing tables a lot easier to pull off. When plants need moving for watering, inspection, or shifts in light exposure, the containers handle fine individually or in groups.
Their role doesn't stop at seedling production either. Small pots turn up for herbs, compact ornamental plants, young vegetable plants, and other crops that get sold while still sitting in their containers.
The right pot really comes down to the plant and the growing process at hand. Growers need to weigh root development, water management, container stability, and how plants will actually get handled throughout production.
How Do Nurseries Use Small Plastic Pots to Grow Seedlings?
Seedling production is probably the biggest use case for small plastic flower pots in plant nurseries. Most plants start as seeds in some protected growing area before moving on to larger containers or outdoor planting spots.
A small pot gives the seedling and its growing medium a defined space to work within. That makes managing individual plants and watching their condition a lot easier for nursery staff. If a seedling's growing slowly, showing stress, or just needs different care, staff can check it out without disturbing an entire growing bed in the process.
Separate containers also cut down the risk of root systems tangling together. Seedlings growing shoulder-to-shoulder in shared soil often end up with roots that are genuinely hard to separate later. Individual pots keep clearer boundaries between plants, which makes later handling a lot less of a hassle.
Nurseries often group small pots into trays to keep production organized. Trays hold containers together and make moving batches of seedlings between growing areas much simpler. They also help staff maintain a consistent layout through watering and inspection rounds.
The pot has to actually suit the seedling's growth stage, though. Too small, and it restricts root development as the plant grows. Too much growing medium in there, and the pot can stay wet longer than it should under certain conditions. Either situation ends up affecting plant care down the line.
Nursery operators should also think through how long seedlings will actually sit in their original containers. Plants headed for a quick transfer might need a different container setup than ones staying in pots for an extended stretch.
Matching pot size and design to what the seedling actually needs lets nurseries build a growing process that's easier to manage and adjust as plants develop over time.
How Are Small Plastic Flower Pots Used for Propagation?
Plant propagation means producing new plants from seeds, cuttings, or other plant parts. Small plastic flower pots suit this work well because they give young plants separate spaces while growers track root formation and early growth closely.
Cuttings typically go into a suitable growing medium while they work on developing roots. During that stretch, the cutting can be genuinely sensitive to changes in moisture and handling. A small container lets the grower manage each cutting on its own without disturbing the others nearby. It also makes checking whether the plant's established a healthy root system a lot simpler.
Different plants bring different propagation needs to the table. Some cuttings want a loose growing medium with good air movement around the roots. Others need careful moisture management so the cutting doesn't dry out. The pot itself doesn't decide the outcome, but its drainage and shape genuinely shape how easily growers manage these conditions.
Small pots also pay off when propagating plants in batches. Nursery staff can label containers, group similar varieties, and separate plants by how far along they are. If some cuttings root more slowly than others, the grower just keeps them in the propagation area a bit longer without throwing off the rest of the batch.
For plants started from seed, small containers support early development right after germination. Once seedlings build up stronger roots and leaves, they move on to larger pots or get prepped for planting out.
Reusable plastic pots can suit propagation setups built around repeated growing cycles. That said, containers need proper inspection and cleaning between uses. Old growing medium, plant debris, disease-causing organisms can all linger in used pots if they're not handled correctly.
The real value small plastic pots bring to propagation is the control they hand growers over individual plants. They help growers track progress, manage growing conditions, and move young plants along once they're ready for the next stage.
What Pot Features Matter for Greenhouse and Nursery Use?
Not every small plastic flower pot gets designed for the same growing conditions. Some are built for short-term seedling production; others serve ornamental plants that'll sit in containers for a lot longer. A handful of features shape how a pot actually performs in a greenhouse or nursery setting.
Drainage holes let excess water escape the container. Their design needs to suit the growing medium, watering method, and the plant's moisture needs specifically. Poor drainage leaves the root area sitting too wet; drainage that's too fast demands more frequent watering to compensate.
Pot shape shapes how the growing medium sits and how roots actually develop within the available space. A pot needs enough room for the plant's current growth stage without turning routine handling into a chore.
Material flexibility affects how easily staff can pull a plant free when it's ready for transplanting. Some containers squeeze gently to release the root ball; others hold a more rigid shape throughout.
Rim and base design shapes stability and handling quite a bit. A pot needs to sit securely on benches or in trays. A well-designed rim also makes lifting and moving containers easier during the daily grind.
Labeling space matters when nurseries are juggling many varieties at once. A clear spot for a label helps staff identify plant type, growing batch, or where it's headed next.
These features really deserve consideration together, not in isolation. A pot with great drainage might still be a poor fit if it tips over easily in a crowded tray. A flexible container helps with transplanting, sure, but it still needs enough strength to survive normal handling without falling apart.
Pot Feature
Role in Greenhouses and Nurseries
What Growers Should Consider
Drainage holes
Allow excess water to escape
Growing medium, watering routine, and plant needs
Pot shape
Provides space for root growth
Plant type and growth stage
Material flexibility
Helps with plant removal and transplanting
Handling needs and container durability
Stable base
Supports safe placement on benches and trays
Tray design and movement between growing areas
Labeling area
Helps identify varieties and growing batches
Label size and record-keeping practices
Stackable design
Helps organize unused containers
Storage space and ease of separation
What combination actually works depends on the nursery's own workflow. Growers should pick containers based on how plants actually get grown, moved, and prepped for wherever they're headed next.
How Do Small Plastic Pots Help Manage Water and Root Growth?
Water management sits right at the center of greenhouse and nursery production. Young plants need enough moisture, sure, but their roots also need access to air at the same time. Small plastic flower pots give you a contained growing space that makes observing and managing these conditions a lot more practical.
The growing medium plays a huge role here. Some mixtures hold water for a long stretch; others drain fast. The pot's drainage design works alongside the growing medium to shape how moisture actually moves through the root area.
A small container really helps when plants need close monitoring. Staff can check the surface of the growing medium, feel the weight of a pot, watch for signs of moisture stress. These checks let them adjust watering based on the plant's actual condition rather than running one blanket routine across every crop in the house.
Small pots can dry out fast, though, under warm, bright, or windy conditions. Plants in small containers often need more frequent attention, especially once they've built up a lot of foliage or roots. Greenhouse operators need to account for this shift as plants grow and their needs change.
Root development shapes container choice too. A healthy root system needs room to actually expand within the growing medium. Leave a plant in a too-small pot for too long, and roots get crowded fast. That makes watering trickier and can slow further growth right down.
Go too far the other way, and moving a small seedling into an unnecessarily large pot can make moisture management harder instead of easier. The unused growing medium can stay wet longer than the plant's root system can actually use, depending on conditions.
Growers really should inspect the root system and overall growth before deciding when to move a plant along. A pot good for the early seedling stage might not cut it anymore as the plant develops further. Choosing containers that fit each stage keeps the growing process a lot more manageable overall.
How Are Small Plastic Flower Pots Used in Plant Handling and Sales?
Small plastic flower pots matter a lot too once plants start moving from production areas toward garden centers, retail displays, or customers directly. The container needs to support the plant while keeping handling, identification, and transport genuinely practical.
Inside a nursery, plants often get grouped by variety, size, or intended use. Small pots let staff organize these groups across benches and in trays easily. That helps locate specific plants fast during order prep and cuts down on handling roots directly, which nobody really wants to do more than necessary.
Before plants leave the nursery, staff often check leaves, stems, growing medium, root condition. Individual pots make pulling a plant from a group for inspection — and returning it to the right spot afterward — a lot simpler.
Plastic pots also support display arrangements well. Their light weight makes moving plants around a retail area or reshuffling the layout a lot easier as stock changes. For businesses selling young herbs, flowers, starter plants, small containers offer a practical format for showing off living plants.
Transport brings its own set of considerations. Pots can tip if they're not sitting securely in trays or boxes. Growing medium spills if the container's overfilled or handled roughly. Tall or leafy plants can turn unstable too, even when the pot underneath is perfectly sturdy.
Packaging and tray compatibility matter here, then. A pot needs to fit whatever handling system the nursery or distributor's actually using. Secure placement protects plants as they move between production, storage, and sales areas.
Labeling is another feature worth having. Plant names, care instructions, other identifying details can get attached to the pot or slotted into a suitable holder. Clear labeling cuts down confusion fast when different varieties look nearly identical during early growth stages.
For wholesale buyers, it pays to think through the plant's full journey rather than fixating on how the container looks sitting on a shelf. A suitable pot should mesh with the nursery's growing methods, storage arrangements, order prep process, and delivery needs — all together, not as separate boxes to check.
How Should Nurseries Choose Small Plastic Flower Pots for Different Plants?
Picking small plastic flower pots starts with genuinely understanding the plants and how they'll actually get produced. A container that suits vegetable seedlings might be completely wrong for a slow-growing ornamental or a cutting that needs tight moisture control.
Identify the plant's growth stage. Seedlings and freshly rooted cuttings generally need different container setups than plants that have already built out larger root systems. The pot should offer enough growing space for however long it'll sit there before transplanting or sale.
Consider the growing environment. Greenhouses, outdoor nursery areas, shaded propagation spaces all run different moisture and temperature conditions. These differences shape how fast growing medium dries out and how often staff need to water.
Match the pot to the growing medium. The container and medium work as a pair. A mixture that holds moisture well might need a different drainage setup than one that drains freely. Growers should look at the complete growing setup rather than picking a pot in isolation from everything else.
Review daily handling needs. Pots get lifted individually, carried in trays, moved on carts, packed for delivery — whatever the nursery's usual routine looks like. Shape and stability need to fit that workflow specifically.
Consider reuse and cleaning. Some nurseries run containers through just one growing cycle; others clean and reuse suitable pots repeatedly. What works depends on the container's condition, the crop, sanitation practices, and how the nursery actually operates day to day.
Check storage and supply requirements. Wholesale buyers often need pots that fit existing trays and storage setups already in place. Consistent container dimensions simplify handling a lot, but the design still has to suit the plants actually being grown.
The choice also hinges on what comes next in production. Plants headed for garden-bed transplanting often need containers that release the root ball easily. Plants sold straight to customers need pots that stay stable and look presentable through display and transport.
Weighing plant needs, growing conditions, and handling requirements together lets greenhouse operators and nursery buyers land on small plastic flower pots that genuinely fit how their operation actually runs.
Small plastic flower pots quietly carry a lot of weight in modern plant production. They're everywhere — greenhouses, commercial nurseries, garden centers, propagation facilities — doing the unglamorous work of growing seedlings, rooting cuttings, raising young plants, and getting stock ready for sale. Their compact size also helps growers keep plants organized by species, growth stage, and care needs without things turning into chaos.
Inside a greenhouse, space and growing conditions need careful management. Different plants want different amounts of water, light, room for their roots to spread. Small plastic flower pots let growers handle individual plants on their own terms, rather than tossing every seedling into one shared growing bed where nothing gets individual attention. That makes routine care and moving plants around a lot more manageable day to day.
Plant nurseries lean on these pots for similar reasons. Young plants typically start life in small containers before graduating to larger pots or heading into the ground. A suitable container supports those early growth stages while letting nursery staff keep an eye on each plant's progress.
Small plastic flower pots might look like the simplest piece of equipment in the whole operation, but their design actually shapes daily nursery work more than people realize. Pot shape, drainage, material, handling features — all of it determines how well a pot fits into a working growing system. Understanding these roles helps growers, nursery operators, and Small Plastic Flower Pots Wholesale buyers pick containers that genuinely match what their production actually needs.
Why Are Small Plastic Flower Pots Common in Greenhouses?
Greenhouses offer a controlled environment, sure, but managing a sea of individual plants inside one still takes real planning. Small plastic flower pots help growers arrange seedlings and young plants in a way that stays clear and organized rather than becoming a tangled mess.
Each pot carves out a separate growing space. That matters a lot when different plant varieties need different care routines running side by side. A grower can shift a pot to another bench, adjust where it's sitting, or pull it for a closer look without disturbing anything nearby. Individual containers also make identifying plants and tracking their progress a lot more straightforward.
Small pots earn their keep especially during early growth stages. Seeds and young seedlings usually have fairly limited root systems at that point. A large container just ends up holding more growing medium than the plant actually needs yet. A smaller pot gives a manageable space while letting the grower keep tabs on moisture and root development closely.
Greenhouse staff also benefit from how easy plastic containers are to handle generally. Most small plastic pots are lightweight and line up neatly in rows or sit in trays without fuss. That makes efficient use of benches and growing tables a lot easier to pull off. When plants need moving for watering, inspection, or shifts in light exposure, the containers handle fine individually or in groups.
Their role doesn't stop at seedling production either. Small pots turn up for herbs, compact ornamental plants, young vegetable plants, and other crops that get sold while still sitting in their containers.
The right pot really comes down to the plant and the growing process at hand. Growers need to weigh root development, water management, container stability, and how plants will actually get handled throughout production.
How Do Nurseries Use Small Plastic Pots to Grow Seedlings?
Seedling production is probably the biggest use case for small plastic flower pots in plant nurseries. Most plants start as seeds in some protected growing area before moving on to larger containers or outdoor planting spots.
A small pot gives the seedling and its growing medium a defined space to work within. That makes managing individual plants and watching their condition a lot easier for nursery staff. If a seedling's growing slowly, showing stress, or just needs different care, staff can check it out without disturbing an entire growing bed in the process.
Separate containers also cut down the risk of root systems tangling together. Seedlings growing shoulder-to-shoulder in shared soil often end up with roots that are genuinely hard to separate later. Individual pots keep clearer boundaries between plants, which makes later handling a lot less of a hassle.
Nurseries often group small pots into trays to keep production organized. Trays hold containers together and make moving batches of seedlings between growing areas much simpler. They also help staff maintain a consistent layout through watering and inspection rounds.
The pot has to actually suit the seedling's growth stage, though. Too small, and it restricts root development as the plant grows. Too much growing medium in there, and the pot can stay wet longer than it should under certain conditions. Either situation ends up affecting plant care down the line.
Nursery operators should also think through how long seedlings will actually sit in their original containers. Plants headed for a quick transfer might need a different container setup than ones staying in pots for an extended stretch.
Matching pot size and design to what the seedling actually needs lets nurseries build a growing process that's easier to manage and adjust as plants develop over time.
How Are Small Plastic Flower Pots Used for Propagation?
Plant propagation means producing new plants from seeds, cuttings, or other plant parts. Small plastic flower pots suit this work well because they give young plants separate spaces while growers track root formation and early growth closely.
Cuttings typically go into a suitable growing medium while they work on developing roots. During that stretch, the cutting can be genuinely sensitive to changes in moisture and handling. A small container lets the grower manage each cutting on its own without disturbing the others nearby. It also makes checking whether the plant's established a healthy root system a lot simpler.
Different plants bring different propagation needs to the table. Some cuttings want a loose growing medium with good air movement around the roots. Others need careful moisture management so the cutting doesn't dry out. The pot itself doesn't decide the outcome, but its drainage and shape genuinely shape how easily growers manage these conditions.
Small pots also pay off when propagating plants in batches. Nursery staff can label containers, group similar varieties, and separate plants by how far along they are. If some cuttings root more slowly than others, the grower just keeps them in the propagation area a bit longer without throwing off the rest of the batch.
For plants started from seed, small containers support early development right after germination. Once seedlings build up stronger roots and leaves, they move on to larger pots or get prepped for planting out.
Reusable plastic pots can suit propagation setups built around repeated growing cycles. That said, containers need proper inspection and cleaning between uses. Old growing medium, plant debris, disease-causing organisms can all linger in used pots if they're not handled correctly.
The real value small plastic pots bring to propagation is the control they hand growers over individual plants. They help growers track progress, manage growing conditions, and move young plants along once they're ready for the next stage.
What Pot Features Matter for Greenhouse and Nursery Use?
Not every small plastic flower pot gets designed for the same growing conditions. Some are built for short-term seedling production; others serve ornamental plants that'll sit in containers for a lot longer. A handful of features shape how a pot actually performs in a greenhouse or nursery setting.
Drainage holes let excess water escape the container. Their design needs to suit the growing medium, watering method, and the plant's moisture needs specifically. Poor drainage leaves the root area sitting too wet; drainage that's too fast demands more frequent watering to compensate.
Pot shape shapes how the growing medium sits and how roots actually develop within the available space. A pot needs enough room for the plant's current growth stage without turning routine handling into a chore.
Material flexibility affects how easily staff can pull a plant free when it's ready for transplanting. Some containers squeeze gently to release the root ball; others hold a more rigid shape throughout.
Rim and base design shapes stability and handling quite a bit. A pot needs to sit securely on benches or in trays. A well-designed rim also makes lifting and moving containers easier during the daily grind.
Labeling space matters when nurseries are juggling many varieties at once. A clear spot for a label helps staff identify plant type, growing batch, or where it's headed next.
These features really deserve consideration together, not in isolation. A pot with great drainage might still be a poor fit if it tips over easily in a crowded tray. A flexible container helps with transplanting, sure, but it still needs enough strength to survive normal handling without falling apart.
Pot Feature
Role in Greenhouses and Nurseries
What Growers Should Consider
Drainage holes
Allow excess water to escape
Growing medium, watering routine, and plant needs
Pot shape
Provides space for root growth
Plant type and growth stage
Material flexibility
Helps with plant removal and transplanting
Handling needs and container durability
Stable base
Supports safe placement on benches and trays
Tray design and movement between growing areas
Labeling area
Helps identify varieties and growing batches
Label size and record-keeping practices
Stackable design
Helps organize unused containers
Storage space and ease of separation
What combination actually works depends on the nursery's own workflow. Growers should pick containers based on how plants actually get grown, moved, and prepped for wherever they're headed next.
How Do Small Plastic Pots Help Manage Water and Root Growth?
Water management sits right at the center of greenhouse and nursery production. Young plants need enough moisture, sure, but their roots also need access to air at the same time. Small plastic flower pots give you a contained growing space that makes observing and managing these conditions a lot more practical.
The growing medium plays a huge role here. Some mixtures hold water for a long stretch; others drain fast. The pot's drainage design works alongside the growing medium to shape how moisture actually moves through the root area.
A small container really helps when plants need close monitoring. Staff can check the surface of the growing medium, feel the weight of a pot, watch for signs of moisture stress. These checks let them adjust watering based on the plant's actual condition rather than running one blanket routine across every crop in the house.
Small pots can dry out fast, though, under warm, bright, or windy conditions. Plants in small containers often need more frequent attention, especially once they've built up a lot of foliage or roots. Greenhouse operators need to account for this shift as plants grow and their needs change.
Root development shapes container choice too. A healthy root system needs room to actually expand within the growing medium. Leave a plant in a too-small pot for too long, and roots get crowded fast. That makes watering trickier and can slow further growth right down.
Go too far the other way, and moving a small seedling into an unnecessarily large pot can make moisture management harder instead of easier. The unused growing medium can stay wet longer than the plant's root system can actually use, depending on conditions.
Growers really should inspect the root system and overall growth before deciding when to move a plant along. A pot good for the early seedling stage might not cut it anymore as the plant develops further. Choosing containers that fit each stage keeps the growing process a lot more manageable overall.
How Are Small Plastic Flower Pots Used in Plant Handling and Sales?
Small plastic flower pots matter a lot too once plants start moving from production areas toward garden centers, retail displays, or customers directly. The container needs to support the plant while keeping handling, identification, and transport genuinely practical.
Inside a nursery, plants often get grouped by variety, size, or intended use. Small pots let staff organize these groups across benches and in trays easily. That helps locate specific plants fast during order prep and cuts down on handling roots directly, which nobody really wants to do more than necessary.
Before plants leave the nursery, staff often check leaves, stems, growing medium, root condition. Individual pots make pulling a plant from a group for inspection — and returning it to the right spot afterward — a lot simpler.
Plastic pots also support display arrangements well. Their light weight makes moving plants around a retail area or reshuffling the layout a lot easier as stock changes. For businesses selling young herbs, flowers, starter plants, small containers offer a practical format for showing off living plants.
Transport brings its own set of considerations. Pots can tip if they're not sitting securely in trays or boxes. Growing medium spills if the container's overfilled or handled roughly. Tall or leafy plants can turn unstable too, even when the pot underneath is perfectly sturdy.
Packaging and tray compatibility matter here, then. A pot needs to fit whatever handling system the nursery or distributor's actually using. Secure placement protects plants as they move between production, storage, and sales areas.
Labeling is another feature worth having. Plant names, care instructions, other identifying details can get attached to the pot or slotted into a suitable holder. Clear labeling cuts down confusion fast when different varieties look nearly identical during early growth stages.
For wholesale buyers, it pays to think through the plant's full journey rather than fixating on how the container looks sitting on a shelf. A suitable pot should mesh with the nursery's growing methods, storage arrangements, order prep process, and delivery needs — all together, not as separate boxes to check.
How Should Nurseries Choose Small Plastic Flower Pots for Different Plants?
Picking small plastic flower pots starts with genuinely understanding the plants and how they'll actually get produced. A container that suits vegetable seedlings might be completely wrong for a slow-growing ornamental or a cutting that needs tight moisture control.
Identify the plant's growth stage. Seedlings and freshly rooted cuttings generally need different container setups than plants that have already built out larger root systems. The pot should offer enough growing space for however long it'll sit there before transplanting or sale.
Consider the growing environment. Greenhouses, outdoor nursery areas, shaded propagation spaces all run different moisture and temperature conditions. These differences shape how fast growing medium dries out and how often staff need to water.
Match the pot to the growing medium. The container and medium work as a pair. A mixture that holds moisture well might need a different drainage setup than one that drains freely. Growers should look at the complete growing setup rather than picking a pot in isolation from everything else.
Review daily handling needs. Pots get lifted individually, carried in trays, moved on carts, packed for delivery — whatever the nursery's usual routine looks like. Shape and stability need to fit that workflow specifically.
Consider reuse and cleaning. Some nurseries run containers through just one growing cycle; others clean and reuse suitable pots repeatedly. What works depends on the container's condition, the crop, sanitation practices, and how the nursery actually operates day to day.
Check storage and supply requirements. Wholesale buyers often need pots that fit existing trays and storage setups already in place. Consistent container dimensions simplify handling a lot, but the design still has to suit the plants actually being grown.
The choice also hinges on what comes next in production. Plants headed for garden-bed transplanting often need containers that release the root ball easily. Plants sold straight to customers need pots that stay stable and look presentable through display and transport.
Weighing plant needs, growing conditions, and handling requirements together lets greenhouse operators and nursery buyers land on small plastic flower pots that genuinely fit how their operation actually runs.
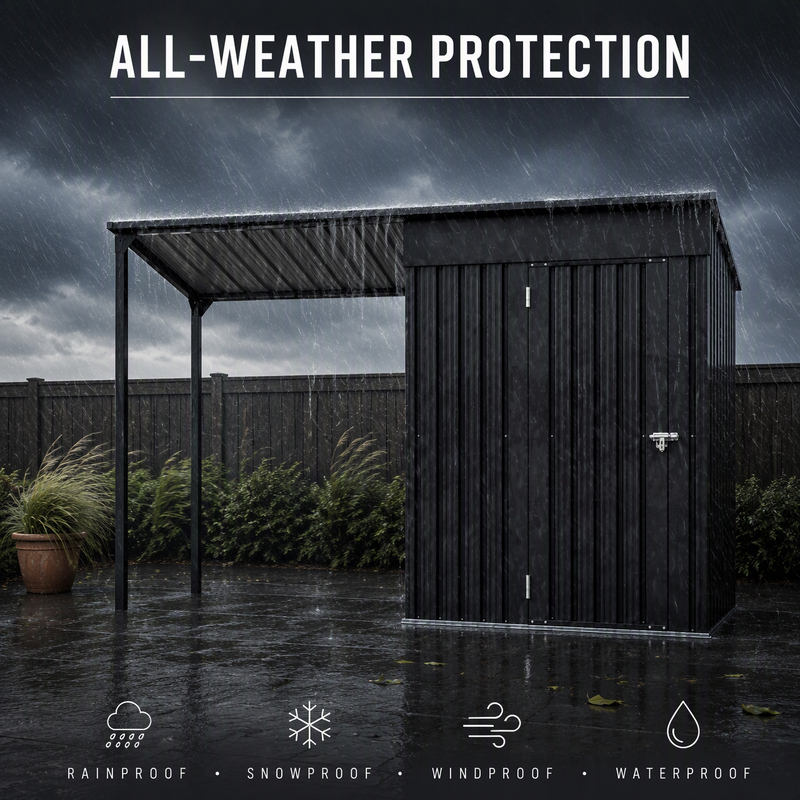 Key Factors Determining Lifespan
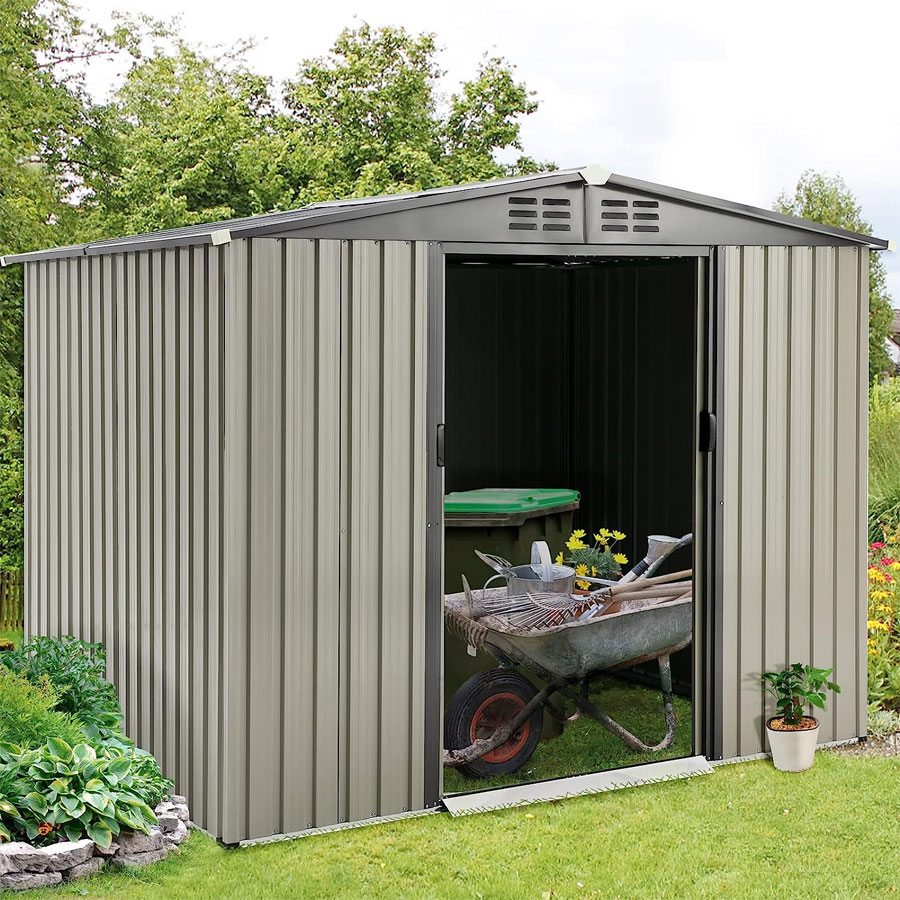
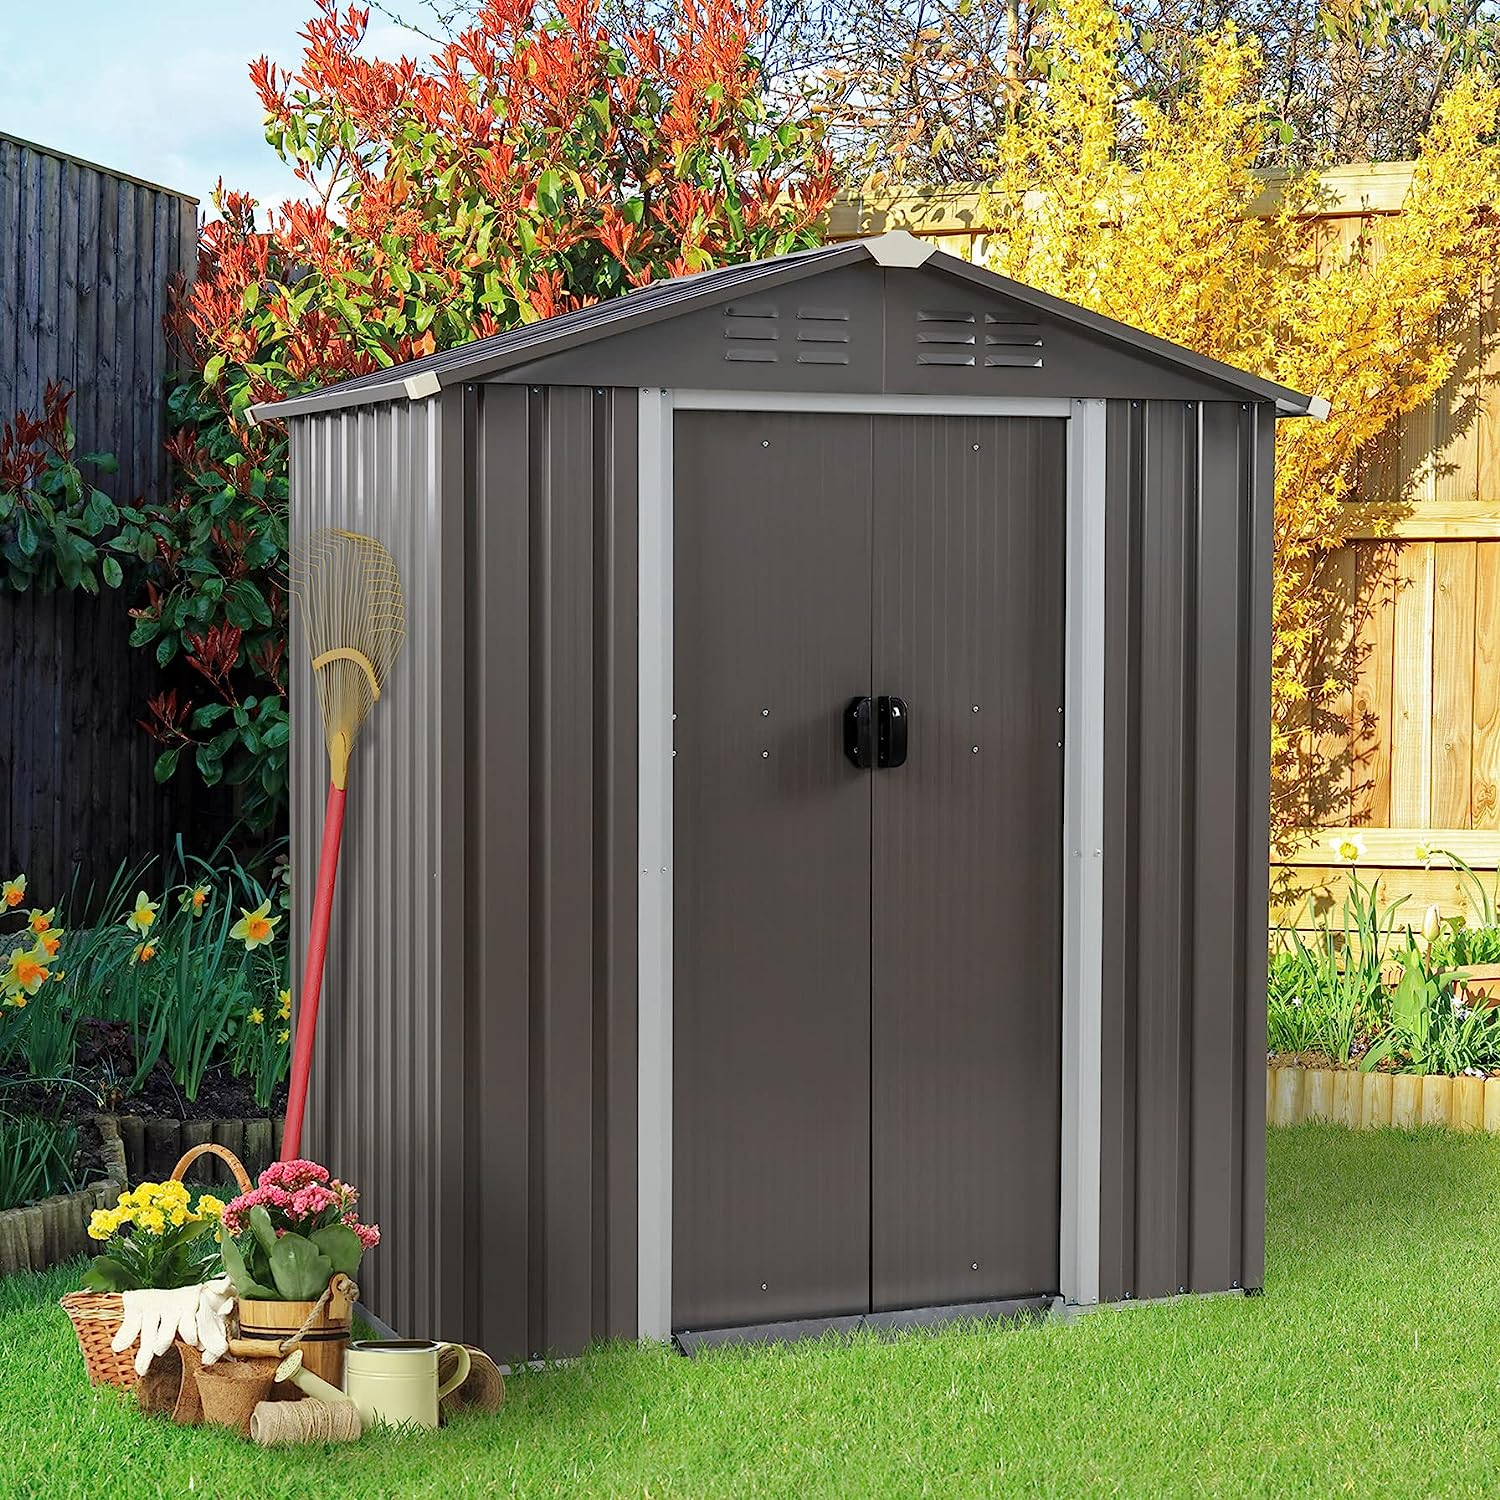
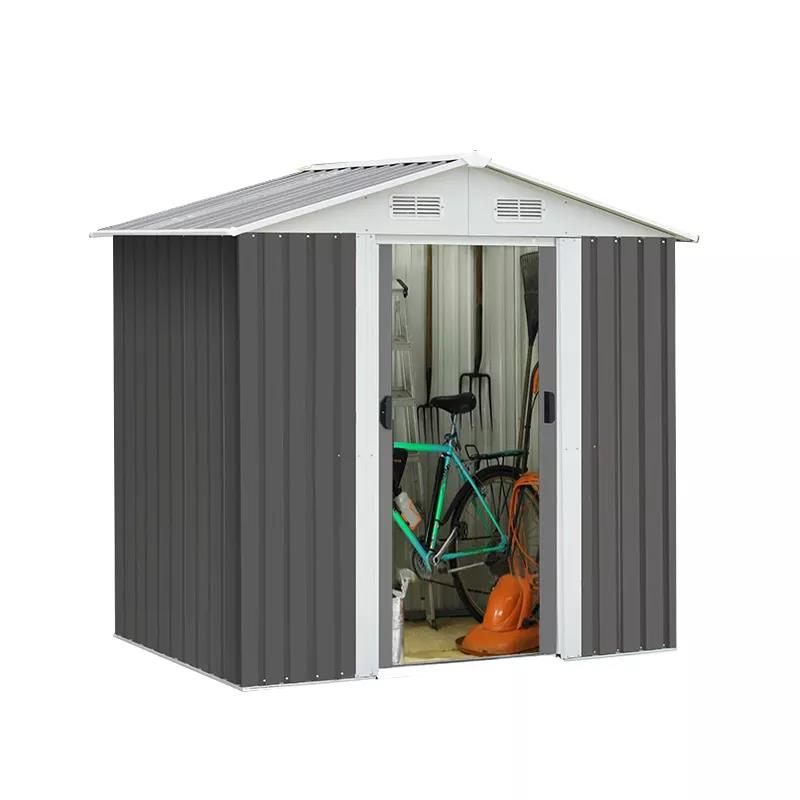
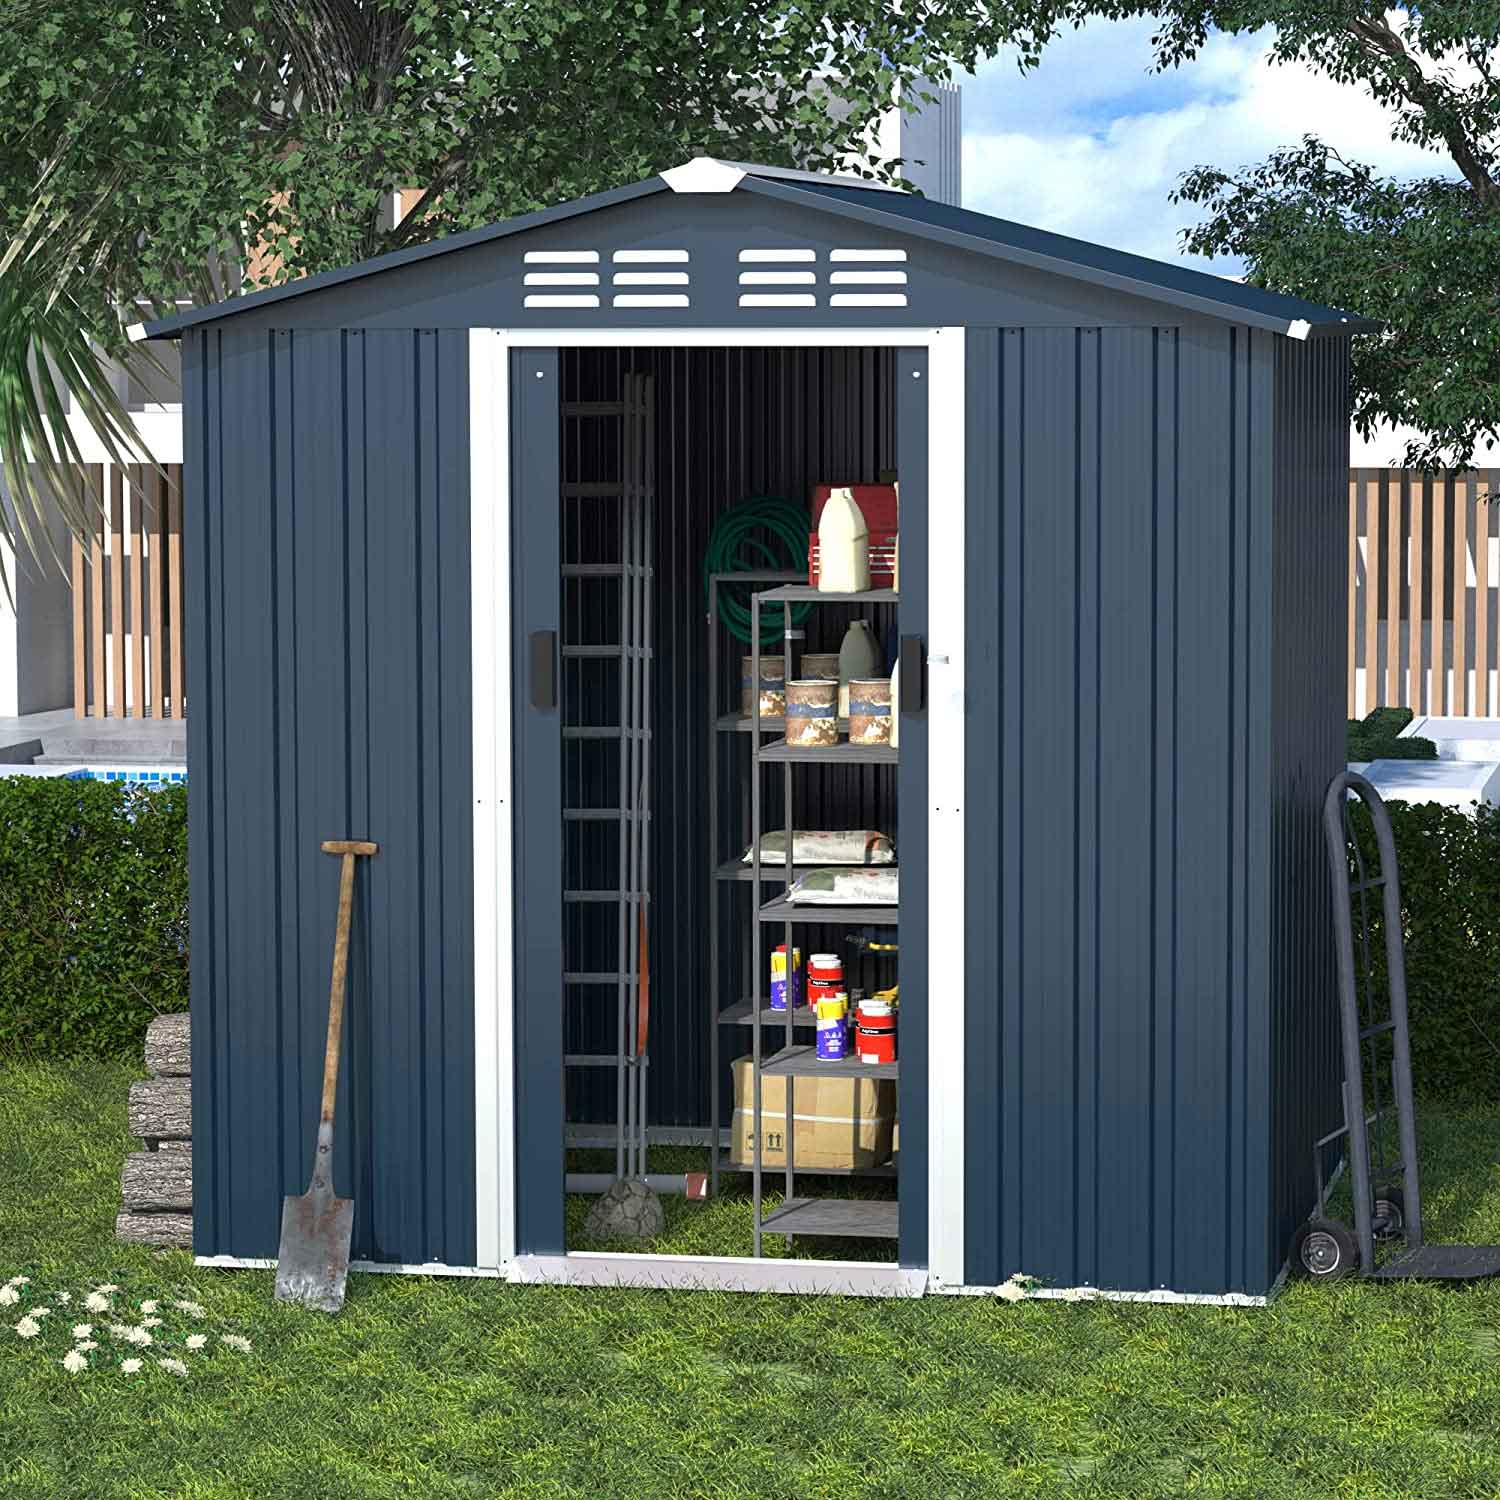
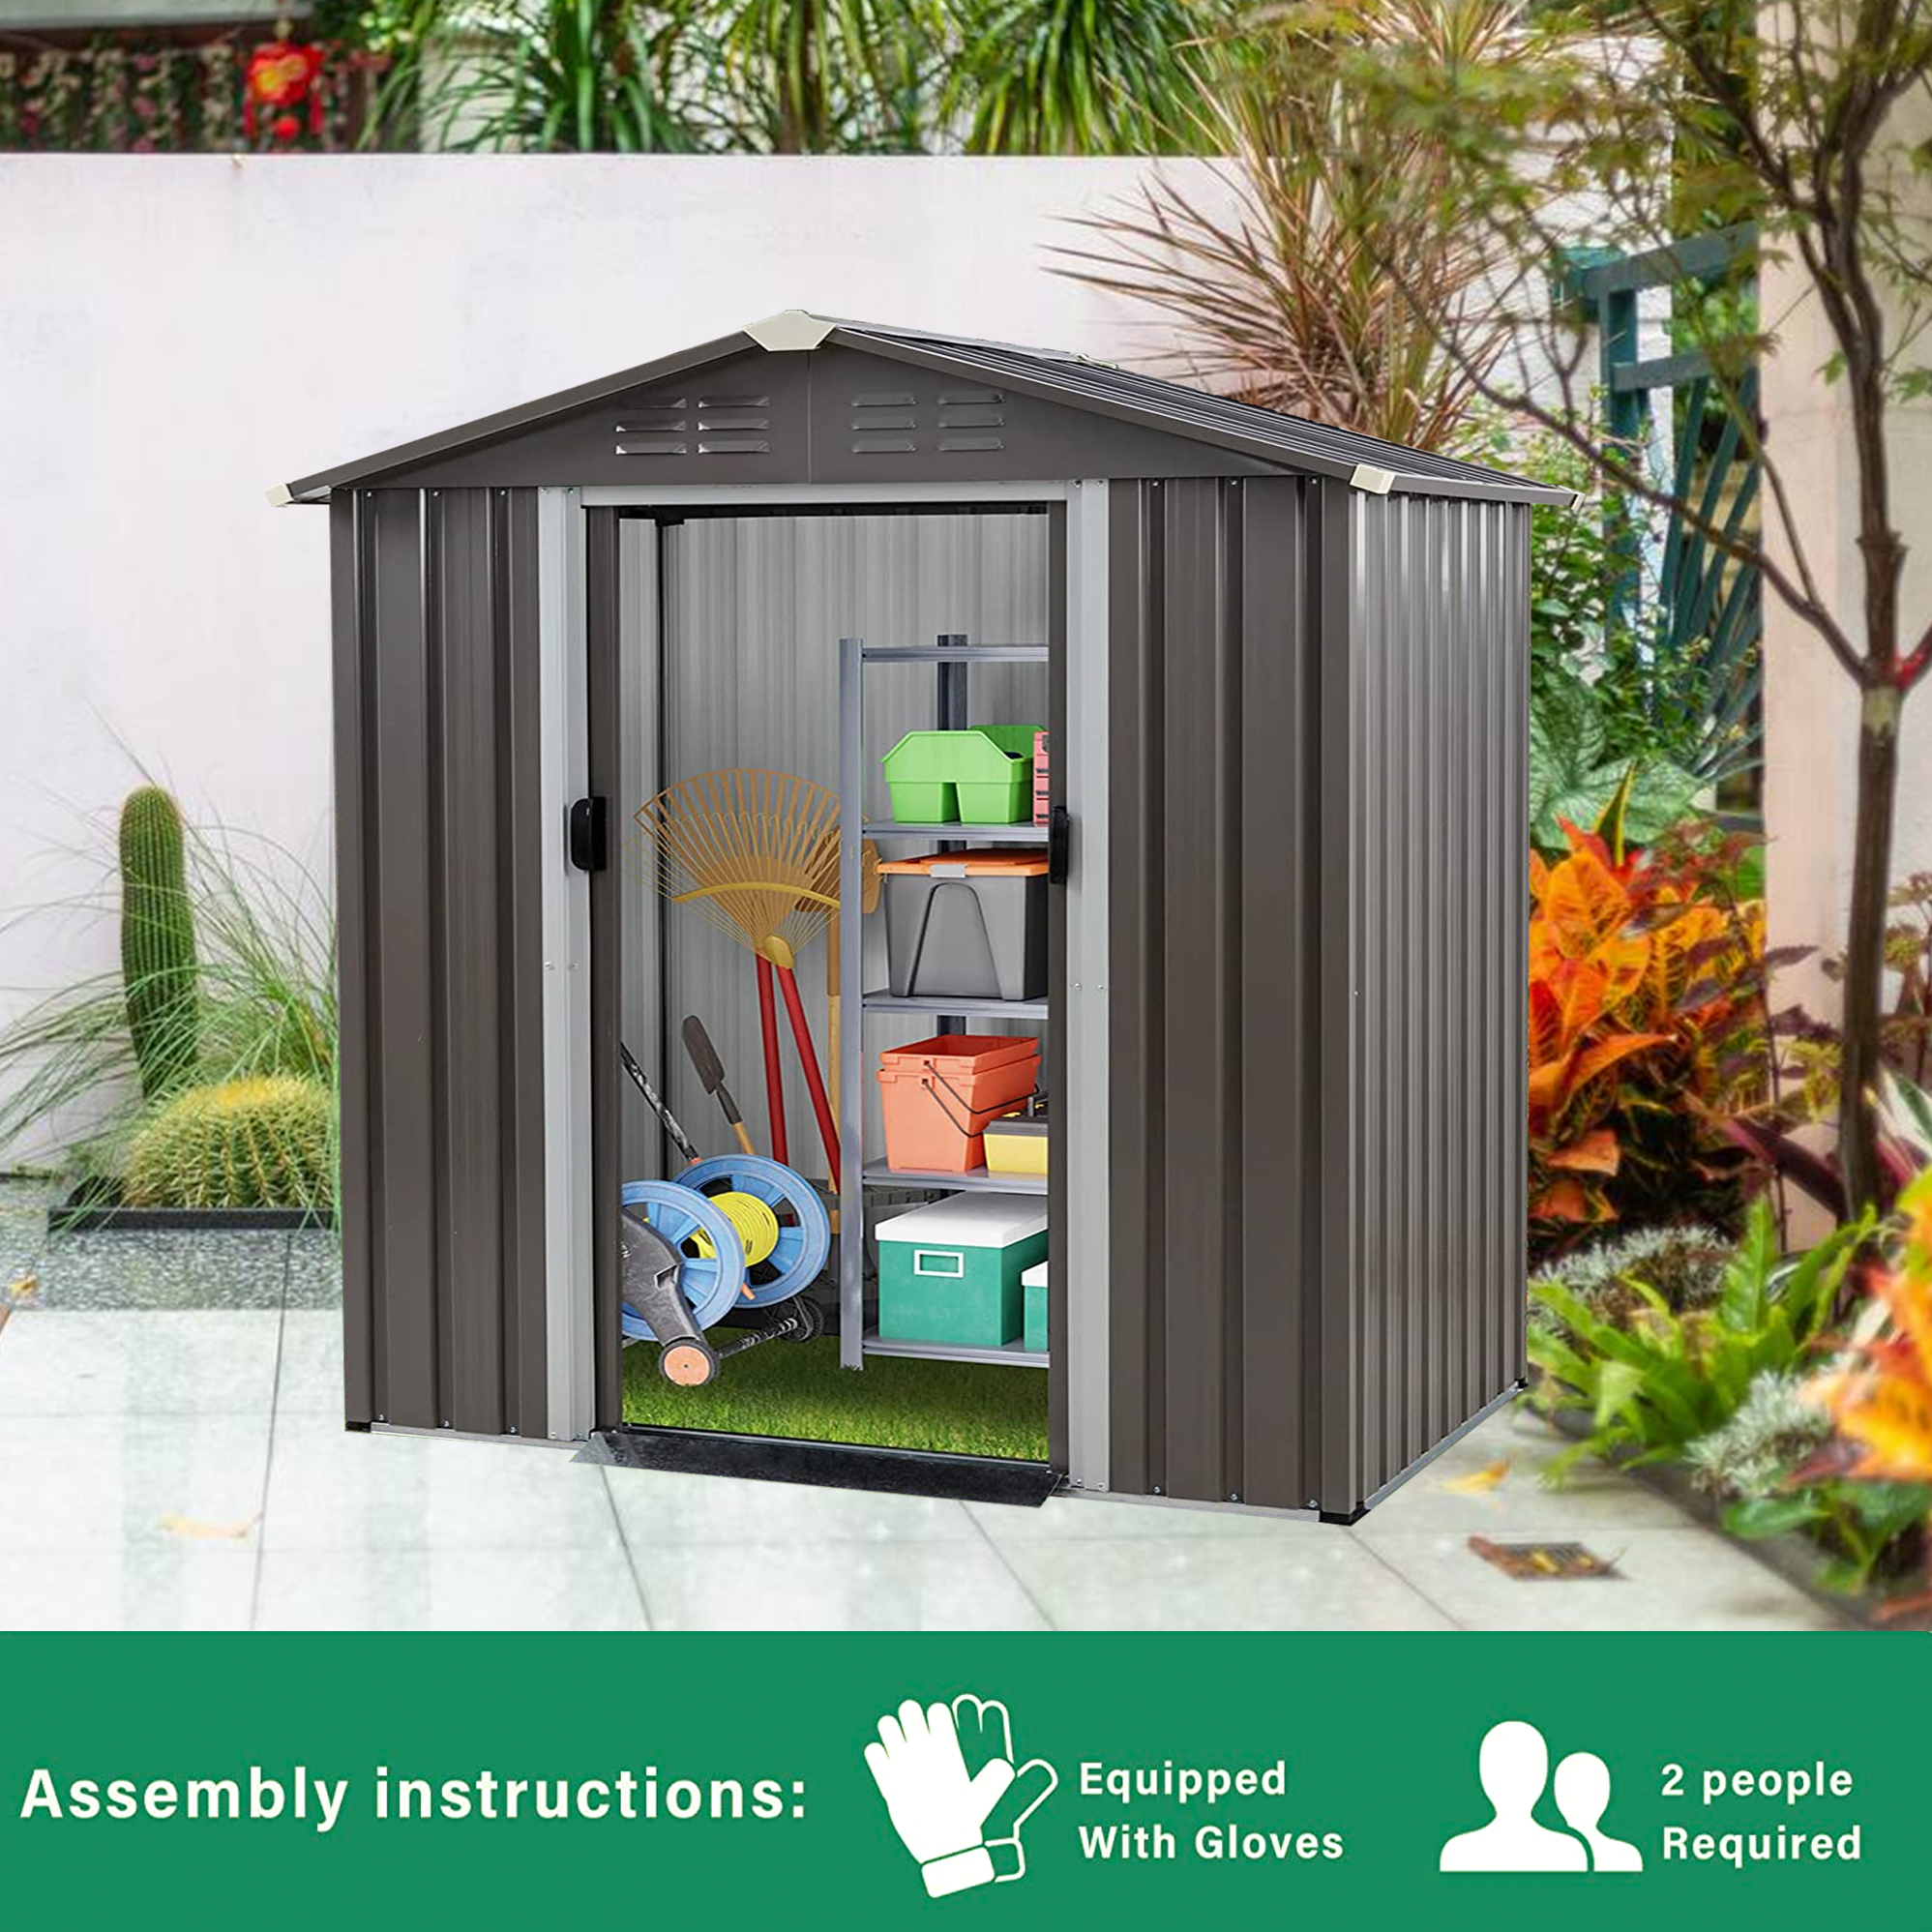
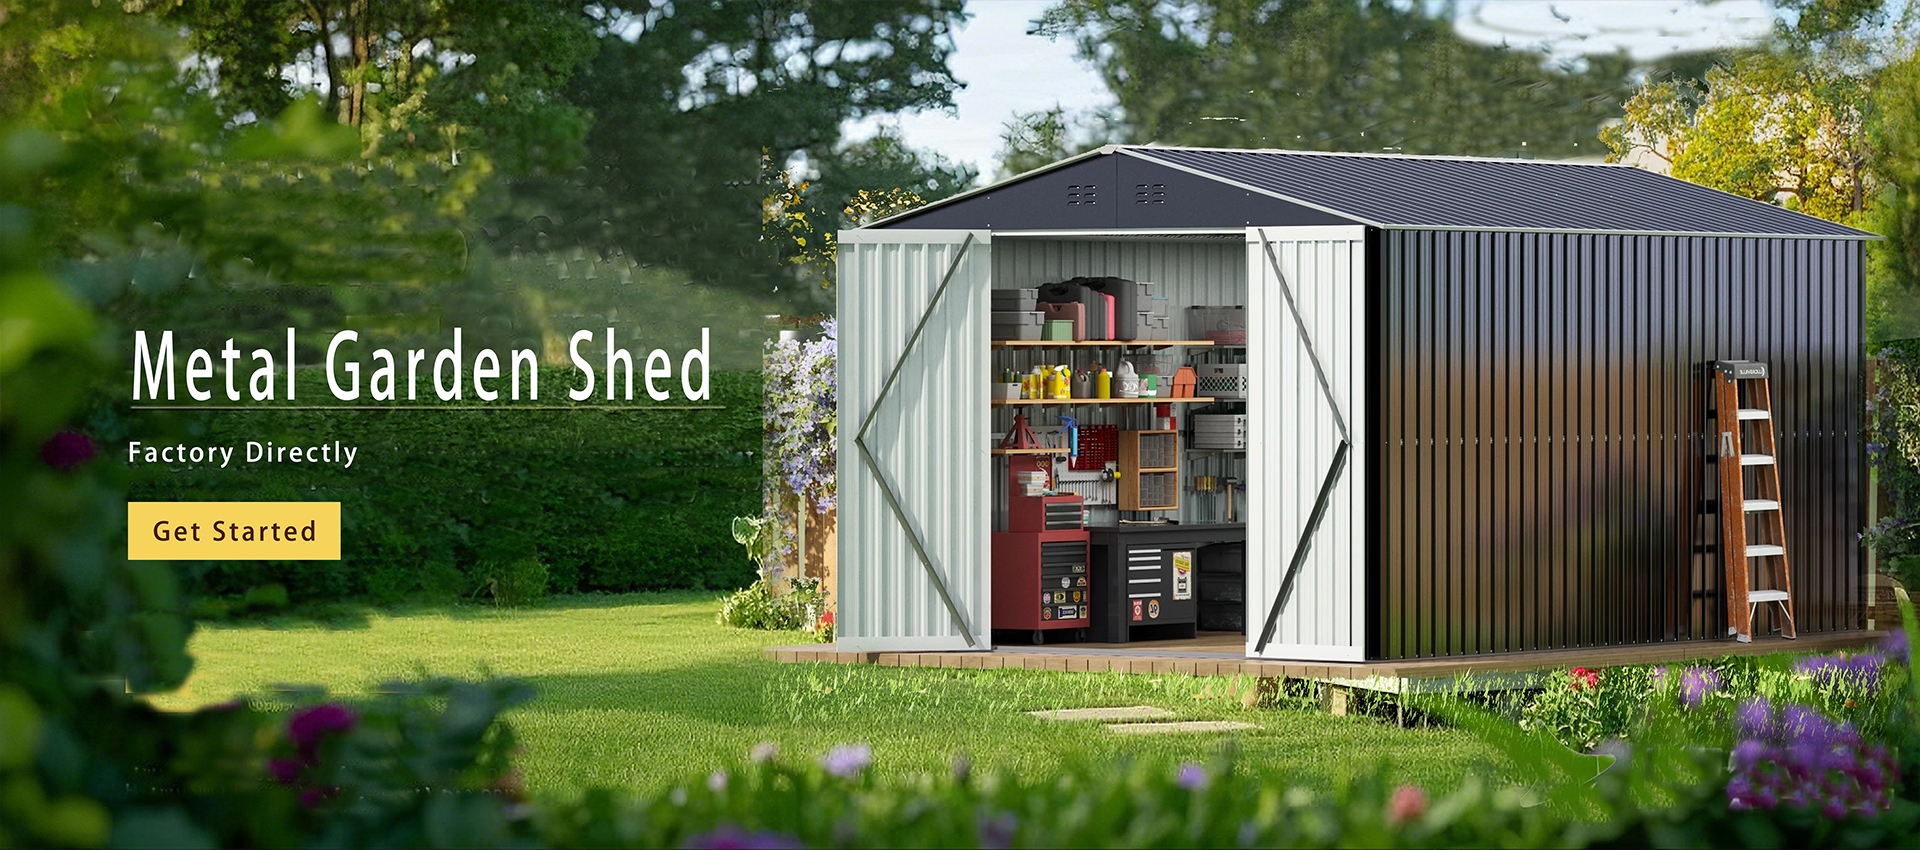
Galvanizing Process and Steel Quality: This is very critical factor. High-quality hot-dip galvanized steel, due to the protective zinc layer, can provide maintenance-free corrosion protection for 50 years or even 75 years in general atmospheric environments. In contrast, low-priced thin steel sheets may begin to rust and perforate within a few years.
Manufacturer Warranty and Actual Performance: Warranties directly reflect manufacturer confidence. Common brands in the market typically offer 10 to 20 years anti-corrosion or anti-perforation warranties. Some high-end brands have cases where sheds remain in good condition after 15 years of use.
Usage Environment: In coastal areas (high salt mist) or heavily polluted industrial environments, corrosion rates will accelerate, and lifespan will be correspondingly reduced. Adequate drainage (such as preventing roof water accumulation) and avoiding scratches can extend service life.
Practical Advice
When purchasing, do not only focus on the "steel" material itself. Be sure to check the specific galvanizing level and warranty period. A product that clearly states "hot-dip galvanized" and comes with a 15-year or even 20-year anti-corrosion warranty will be far more durable than an ordinary painted steel shed.
Key Factors Determining Lifespan
Galvanizing Process and Steel Quality: This is very critical factor. High-quality hot-dip galvanized steel, due to the protective zinc layer, can provide maintenance-free corrosion protection for 50 years or even 75 years in general atmospheric environments. In contrast, low-priced thin steel sheets may begin to rust and perforate within a few years.
Manufacturer Warranty and Actual Performance: Warranties directly reflect manufacturer confidence. Common brands in the market typically offer 10 to 20 years anti-corrosion or anti-perforation warranties. Some high-end brands have cases where sheds remain in good condition after 15 years of use.
Usage Environment: In coastal areas (high salt mist) or heavily polluted industrial environments, corrosion rates will accelerate, and lifespan will be correspondingly reduced. Adequate drainage (such as preventing roof water accumulation) and avoiding scratches can extend service life.
Practical Advice
When purchasing, do not only focus on the "steel" material itself. Be sure to check the specific galvanizing level and warranty period. A product that clearly states "hot-dip galvanized" and comes with a 15-year or even 20-year anti-corrosion warranty will be far more durable than an ordinary painted steel shed.
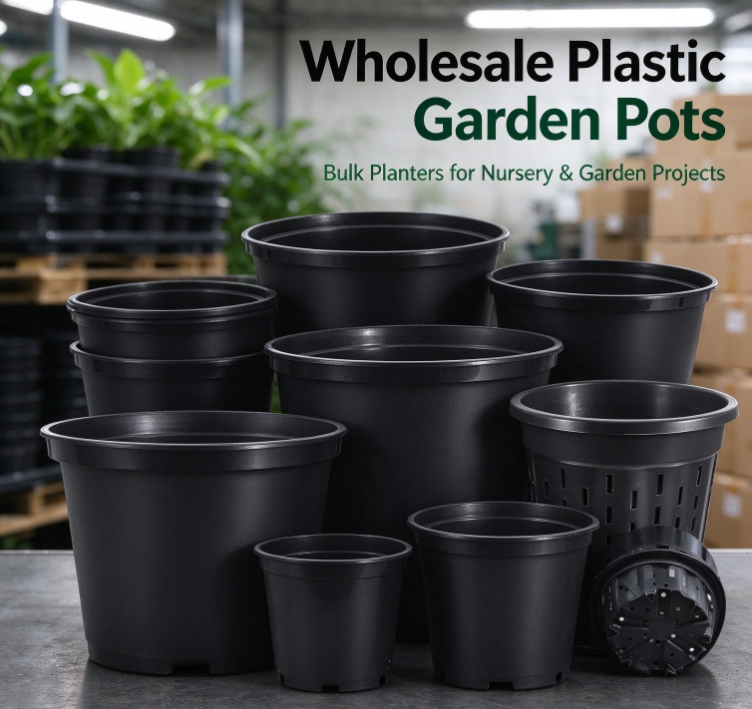 Plastic garden pots are used in many places where plants need to be grown, displayed, moved, or sold. A small plant may start in a nursery pot, move to a garden center, and later be transferred to a larger container. Commercial growers may also use many pots at the same time to organize plants during different stages of growth.
This makes plastic pots more than simple containers. Their shape, opening, drainage design, weight, and overall structure can affect how they fit into a growing or selling process.
For businesses that handle plants in larger quantities, buying pots through wholesale channels can make it easier to maintain a consistent supply. Wholesale Plastic Garden Pots can be used by nurseries, garden centers, landscapers, commercial growers, retailers, and other plant-related businesses.
The actual use depends on the type of plant, the growing environment, and how the pots are handled. Different applications may also call for different pot designs.
Where Are Wholesale Plastic Garden Pots Used in Plant Nurseries?
Plant nurseries are one of the common places where plastic garden pots are used. Young plants often need to be grown in containers before they are moved to a garden, landscape project, or larger growing space.
A nursery may handle many types of plants. Some may have compact root systems, while others need more room as they develop. Plastic pots can be selected in different shapes and sizes to match these growing stages.
The pots also help nurseries organize plants. A group of similar plants can be placed together for watering, care, transportation, and display. This can make daily work easier when many plants are being managed at the same time.
Wholesale purchasing can be useful for nurseries because pots are often needed as part of ongoing plant production. Instead of purchasing individual containers as needed, a nursery can source larger quantities according to its regular operations.
Common nursery uses include:
Growing young plants
Holding seedlings
Developing flowering plants
Preparing plants for sale
Moving plants between growing areas
Organizing plants by type or growth stage
The choice of pot can change as the plant develops. A nursery may therefore use several types of plastic garden pots within the same production process.
How Are Plastic Garden Pots Used in Garden Centers?
Garden centers have a different role from nurseries. Plants are not only grown there. They are also displayed for customers and prepared for sale.
Plastic pots can support both functions. Plants can remain in their growing containers while being arranged in display areas. Staff can move the plants when the layout changes or when certain products need to be placed in a more visible location.
The appearance of the pot can also matter in a retail environment. Some plants may be sold directly in simple growing pots, while others may be transferred into containers that are more suitable for customer use.
Garden centers may need different pot designs for indoor plants, outdoor plants, flowering plants, herbs, and decorative products. The container should match the plant and the way the product will be presented.
Wholesale supply can help garden centers keep a suitable range of pots available. A business may need containers for new plant arrivals, repotting, seasonal displays, or customer orders.
Garden Center Activity
Possible Pot Use
Plant display
Holding plants for customer viewing
Plant sales
Providing containers for finished products
Repotting
Moving plants into suitable containers
Stock preparation
Organizing plants before display
Customer orders
Preparing plants for collection or delivery
The pot becomes part of the retail process. It needs to be practical for staff while also being suitable for the plant and customer.
Are Wholesale Plastic Garden Pots Used by Commercial Growers?
Yes. Commercial growers may use plastic garden pots across different stages of plant production.
The scale of commercial growing can make container selection an important part of daily operations. Plants may be moved, grouped, watered, inspected, and prepared for delivery. Pots need to fit naturally into these activities.
Plastic containers can be useful because they are relatively easy to move. A grower may need to rearrange plants within a growing area or prepare groups of plants for shipment. The container becomes part of the handling process.
Commercial growers may also need different pot designs for different plant categories. Flowering plants, foliage plants, herbs, shrubs, and other products do not always have the same container requirements.
Wholesale purchasing allows growers to plan their container supply around production needs. Instead of treating pots as occasional purchases, they can be included in regular material sourcing.
This can be particularly useful when a grower produces plants continuously. The pots are not simply storage items. They are part of the growing system and remain with the plant until the next stage of the product journey.
How Are Plastic Garden Pots Used in Landscaping?
Landscaping businesses may use plastic pots when plants are being prepared for outdoor projects.
A landscaping company may purchase plants from a nursery and then transport them to a customer's property. The plants can remain in their plastic containers during part of this process. This gives the company a convenient way to handle plants before they are placed into the ground or transferred to another container.
Plastic pots can also be useful when landscaping teams need to temporarily hold plants. A project may not be ready for planting when the plants arrive. Keeping the plants in suitable containers can provide a practical solution during the preparation stage.
Different plants may require different container arrangements. Small plants may be handled as individual units, while larger plants may need more space and stronger support.
Landscaping businesses can therefore use wholesale pots for:
Temporary plant holding.
Plant transportation.
Project preparation.
Plant grouping.
Nursery-to-site handling.
Customer plant orders.
The pot is usually not the final destination for a landscape plant. Its value comes from helping the plant move through the preparation and handling process.
Can Wholesale Plastic Garden Pots Be Used for Indoor Plants?
Plastic garden pots can also be used for indoor plant growing. Many indoor plants are sold and grown in containers because they are easier to move and place within homes, offices, shops, and other indoor spaces.
Indoor plants can vary greatly in appearance and growth habits. Small decorative plants may need compact containers, while larger foliage plants may require more room.
Drainage is an important consideration for indoor containers. Water needs to be managed carefully because excessive moisture can create problems for many plants. The pot design should therefore match the growing requirements of the plant and the way it will be maintained indoors.
The appearance of the container may also have greater importance indoors. A simple plastic growing pot can be placed inside a decorative cover, while some plastic pots are designed to be displayed directly.
Wholesale buyers may include:
Indoor plant retailers
Office plant service companies
Garden stores
Plant nurseries
Interior decoration businesses
Home and garden retailers
The application is not limited to homes. Offices, restaurants, hotels, stores, and other indoor spaces may also use container-grown plants.
Where Else Are Wholesale Plastic Garden Pots Commonly Used?
The use of plastic garden pots extends beyond traditional nurseries and garden centers.
Educational institutions may use containers for gardening activities or plant projects. Community gardens can also use pots when planting space is limited. Urban gardening is another area where containers can be useful.
Retail businesses may sell plants as part of a wider home and garden product range. In this setting, the pot can be part of the finished retail product.
Event and decoration businesses may also handle container-grown plants. Plants can be moved between locations and arranged according to the needs of a space.
Small growers and home gardening businesses can use wholesale pots as well. A business does not need to operate a large nursery to benefit from buying containers in larger quantities.
Application
Why Plastic Pots May Be Used
Community gardening
Container-based plant growing
Urban gardening
Flexible use where soil space is limited
Education
Plant-growing activities
Retail
Plant presentation and sales
Interior plant services
Indoor plant handling
Decoration
Moving and arranging container plants
Small-scale growing
Managing multiple plants
These applications show why the wholesale garden pot market can serve a wide range of plant-related businesses.
Can Different Plants Require Different Plastic Garden Pots?
Yes. Plant type can influence the choice of container.
A plant with a compact root system may not need the same container structure as a plant that develops a larger root area. Plants with different growth habits may also require different depths or shapes.
The growing environment matters as well. Outdoor plants may face conditions that are different from indoor plants. Containers used in a nursery may have different practical requirements from those used for final retail display.
Drainage is another consideration. Plants have different water needs, so the pot should allow growers to manage moisture in a suitable way.
Handling can also affect the choice. A nursery may prefer pots that are easy to group and move. A retail business may pay more attention to how the container looks alongside the plant.
For wholesale buyers, it can be useful to classify pots according to application rather than simply buying one design for every plant.
A buyer may consider:
Plant type
Root growth
Growing location
Water management
Plant size
Handling method
Display requirements
Expected use period
This approach can help businesses build a more practical pot selection.
What Should Wholesale Buyers Consider When Choosing Plastic Garden Pots?
Wholesale purchasing is not only about obtaining a large quantity of containers. Buyers also need to consider whether the pots fit their actual operations.
The material should be suitable for the intended use. The pot structure should also be practical for planting, watering, handling, and storage.
Stacking and storage can matter when large quantities of empty pots are kept on site. A pot that can be organized efficiently may be easier for staff to manage.
The design should also match the plants. A nursery may have different requirements from a retailer or landscaping company. Buyers should explain the intended application when discussing products with a supplier.
For businesses with special requirements, customization may also be possible. A manufacturer may be able to develop pot designs around particular shapes, surface features, drainage arrangements, or branding needs, depending on the production process and order requirements.
When evaluating a Wholesale Plastic Garden Pots supplier, buyers can ask:
What types of garden pots are available?
Which plants are the pots designed to support?
Can different pot designs be supplied?
Are custom designs available?
How are the pots packed and prepared for delivery?
Can the supplier support regular wholesale orders?
Can the manufacturer discuss special product requirements?
A clear conversation about plant types, application, handling, and purchasing needs can make it easier to select suitable plastic garden pots for different business environments.
Plastic garden pots are used in many places where plants need to be grown, displayed, moved, or sold. A small plant may start in a nursery pot, move to a garden center, and later be transferred to a larger container. Commercial growers may also use many pots at the same time to organize plants during different stages of growth.
This makes plastic pots more than simple containers. Their shape, opening, drainage design, weight, and overall structure can affect how they fit into a growing or selling process.
For businesses that handle plants in larger quantities, buying pots through wholesale channels can make it easier to maintain a consistent supply. Wholesale Plastic Garden Pots can be used by nurseries, garden centers, landscapers, commercial growers, retailers, and other plant-related businesses.
The actual use depends on the type of plant, the growing environment, and how the pots are handled. Different applications may also call for different pot designs.
Where Are Wholesale Plastic Garden Pots Used in Plant Nurseries?
Plant nurseries are one of the common places where plastic garden pots are used. Young plants often need to be grown in containers before they are moved to a garden, landscape project, or larger growing space.
A nursery may handle many types of plants. Some may have compact root systems, while others need more room as they develop. Plastic pots can be selected in different shapes and sizes to match these growing stages.
The pots also help nurseries organize plants. A group of similar plants can be placed together for watering, care, transportation, and display. This can make daily work easier when many plants are being managed at the same time.
Wholesale purchasing can be useful for nurseries because pots are often needed as part of ongoing plant production. Instead of purchasing individual containers as needed, a nursery can source larger quantities according to its regular operations.
Common nursery uses include:
Growing young plants
Holding seedlings
Developing flowering plants
Preparing plants for sale
Moving plants between growing areas
Organizing plants by type or growth stage
The choice of pot can change as the plant develops. A nursery may therefore use several types of plastic garden pots within the same production process.
How Are Plastic Garden Pots Used in Garden Centers?
Garden centers have a different role from nurseries. Plants are not only grown there. They are also displayed for customers and prepared for sale.
Plastic pots can support both functions. Plants can remain in their growing containers while being arranged in display areas. Staff can move the plants when the layout changes or when certain products need to be placed in a more visible location.
The appearance of the pot can also matter in a retail environment. Some plants may be sold directly in simple growing pots, while others may be transferred into containers that are more suitable for customer use.
Garden centers may need different pot designs for indoor plants, outdoor plants, flowering plants, herbs, and decorative products. The container should match the plant and the way the product will be presented.
Wholesale supply can help garden centers keep a suitable range of pots available. A business may need containers for new plant arrivals, repotting, seasonal displays, or customer orders.
Garden Center Activity
Possible Pot Use
Plant display
Holding plants for customer viewing
Plant sales
Providing containers for finished products
Repotting
Moving plants into suitable containers
Stock preparation
Organizing plants before display
Customer orders
Preparing plants for collection or delivery
The pot becomes part of the retail process. It needs to be practical for staff while also being suitable for the plant and customer.
Are Wholesale Plastic Garden Pots Used by Commercial Growers?
Yes. Commercial growers may use plastic garden pots across different stages of plant production.
The scale of commercial growing can make container selection an important part of daily operations. Plants may be moved, grouped, watered, inspected, and prepared for delivery. Pots need to fit naturally into these activities.
Plastic containers can be useful because they are relatively easy to move. A grower may need to rearrange plants within a growing area or prepare groups of plants for shipment. The container becomes part of the handling process.
Commercial growers may also need different pot designs for different plant categories. Flowering plants, foliage plants, herbs, shrubs, and other products do not always have the same container requirements.
Wholesale purchasing allows growers to plan their container supply around production needs. Instead of treating pots as occasional purchases, they can be included in regular material sourcing.
This can be particularly useful when a grower produces plants continuously. The pots are not simply storage items. They are part of the growing system and remain with the plant until the next stage of the product journey.
How Are Plastic Garden Pots Used in Landscaping?
Landscaping businesses may use plastic pots when plants are being prepared for outdoor projects.
A landscaping company may purchase plants from a nursery and then transport them to a customer's property. The plants can remain in their plastic containers during part of this process. This gives the company a convenient way to handle plants before they are placed into the ground or transferred to another container.
Plastic pots can also be useful when landscaping teams need to temporarily hold plants. A project may not be ready for planting when the plants arrive. Keeping the plants in suitable containers can provide a practical solution during the preparation stage.
Different plants may require different container arrangements. Small plants may be handled as individual units, while larger plants may need more space and stronger support.
Landscaping businesses can therefore use wholesale pots for:
Temporary plant holding.
Plant transportation.
Project preparation.
Plant grouping.
Nursery-to-site handling.
Customer plant orders.
The pot is usually not the final destination for a landscape plant. Its value comes from helping the plant move through the preparation and handling process.
Can Wholesale Plastic Garden Pots Be Used for Indoor Plants?
Plastic garden pots can also be used for indoor plant growing. Many indoor plants are sold and grown in containers because they are easier to move and place within homes, offices, shops, and other indoor spaces.
Indoor plants can vary greatly in appearance and growth habits. Small decorative plants may need compact containers, while larger foliage plants may require more room.
Drainage is an important consideration for indoor containers. Water needs to be managed carefully because excessive moisture can create problems for many plants. The pot design should therefore match the growing requirements of the plant and the way it will be maintained indoors.
The appearance of the container may also have greater importance indoors. A simple plastic growing pot can be placed inside a decorative cover, while some plastic pots are designed to be displayed directly.
Wholesale buyers may include:
Indoor plant retailers
Office plant service companies
Garden stores
Plant nurseries
Interior decoration businesses
Home and garden retailers
The application is not limited to homes. Offices, restaurants, hotels, stores, and other indoor spaces may also use container-grown plants.
Where Else Are Wholesale Plastic Garden Pots Commonly Used?
The use of plastic garden pots extends beyond traditional nurseries and garden centers.
Educational institutions may use containers for gardening activities or plant projects. Community gardens can also use pots when planting space is limited. Urban gardening is another area where containers can be useful.
Retail businesses may sell plants as part of a wider home and garden product range. In this setting, the pot can be part of the finished retail product.
Event and decoration businesses may also handle container-grown plants. Plants can be moved between locations and arranged according to the needs of a space.
Small growers and home gardening businesses can use wholesale pots as well. A business does not need to operate a large nursery to benefit from buying containers in larger quantities.
Application
Why Plastic Pots May Be Used
Community gardening
Container-based plant growing
Urban gardening
Flexible use where soil space is limited
Education
Plant-growing activities
Retail
Plant presentation and sales
Interior plant services
Indoor plant handling
Decoration
Moving and arranging container plants
Small-scale growing
Managing multiple plants
These applications show why the wholesale garden pot market can serve a wide range of plant-related businesses.
Can Different Plants Require Different Plastic Garden Pots?
Yes. Plant type can influence the choice of container.
A plant with a compact root system may not need the same container structure as a plant that develops a larger root area. Plants with different growth habits may also require different depths or shapes.
The growing environment matters as well. Outdoor plants may face conditions that are different from indoor plants. Containers used in a nursery may have different practical requirements from those used for final retail display.
Drainage is another consideration. Plants have different water needs, so the pot should allow growers to manage moisture in a suitable way.
Handling can also affect the choice. A nursery may prefer pots that are easy to group and move. A retail business may pay more attention to how the container looks alongside the plant.
For wholesale buyers, it can be useful to classify pots according to application rather than simply buying one design for every plant.
A buyer may consider:
Plant type
Root growth
Growing location
Water management
Plant size
Handling method
Display requirements
Expected use period
This approach can help businesses build a more practical pot selection.
What Should Wholesale Buyers Consider When Choosing Plastic Garden Pots?
Wholesale purchasing is not only about obtaining a large quantity of containers. Buyers also need to consider whether the pots fit their actual operations.
The material should be suitable for the intended use. The pot structure should also be practical for planting, watering, handling, and storage.
Stacking and storage can matter when large quantities of empty pots are kept on site. A pot that can be organized efficiently may be easier for staff to manage.
The design should also match the plants. A nursery may have different requirements from a retailer or landscaping company. Buyers should explain the intended application when discussing products with a supplier.
For businesses with special requirements, customization may also be possible. A manufacturer may be able to develop pot designs around particular shapes, surface features, drainage arrangements, or branding needs, depending on the production process and order requirements.
When evaluating a Wholesale Plastic Garden Pots supplier, buyers can ask:
What types of garden pots are available?
Which plants are the pots designed to support?
Can different pot designs be supplied?
Are custom designs available?
How are the pots packed and prepared for delivery?
Can the supplier support regular wholesale orders?
Can the manufacturer discuss special product requirements?
A clear conversation about plant types, application, handling, and purchasing needs can make it easier to select suitable plastic garden pots for different business environments.


 英语
英语 俄语
俄语 德语
德语 西班牙语
西班牙语 法语
法语